Tailored Camera Settings for Every Photographer
PhotonCam was built to go beyond the limits of the stock camera — while bringing a host of powerful features along the way. That said, nothing comes without tradeoffs: shooting at 48MP means longer save times than 12MP. Below are four configurations suited to different shooting styles, whether you're new to PhotonCam or a seasoned user.
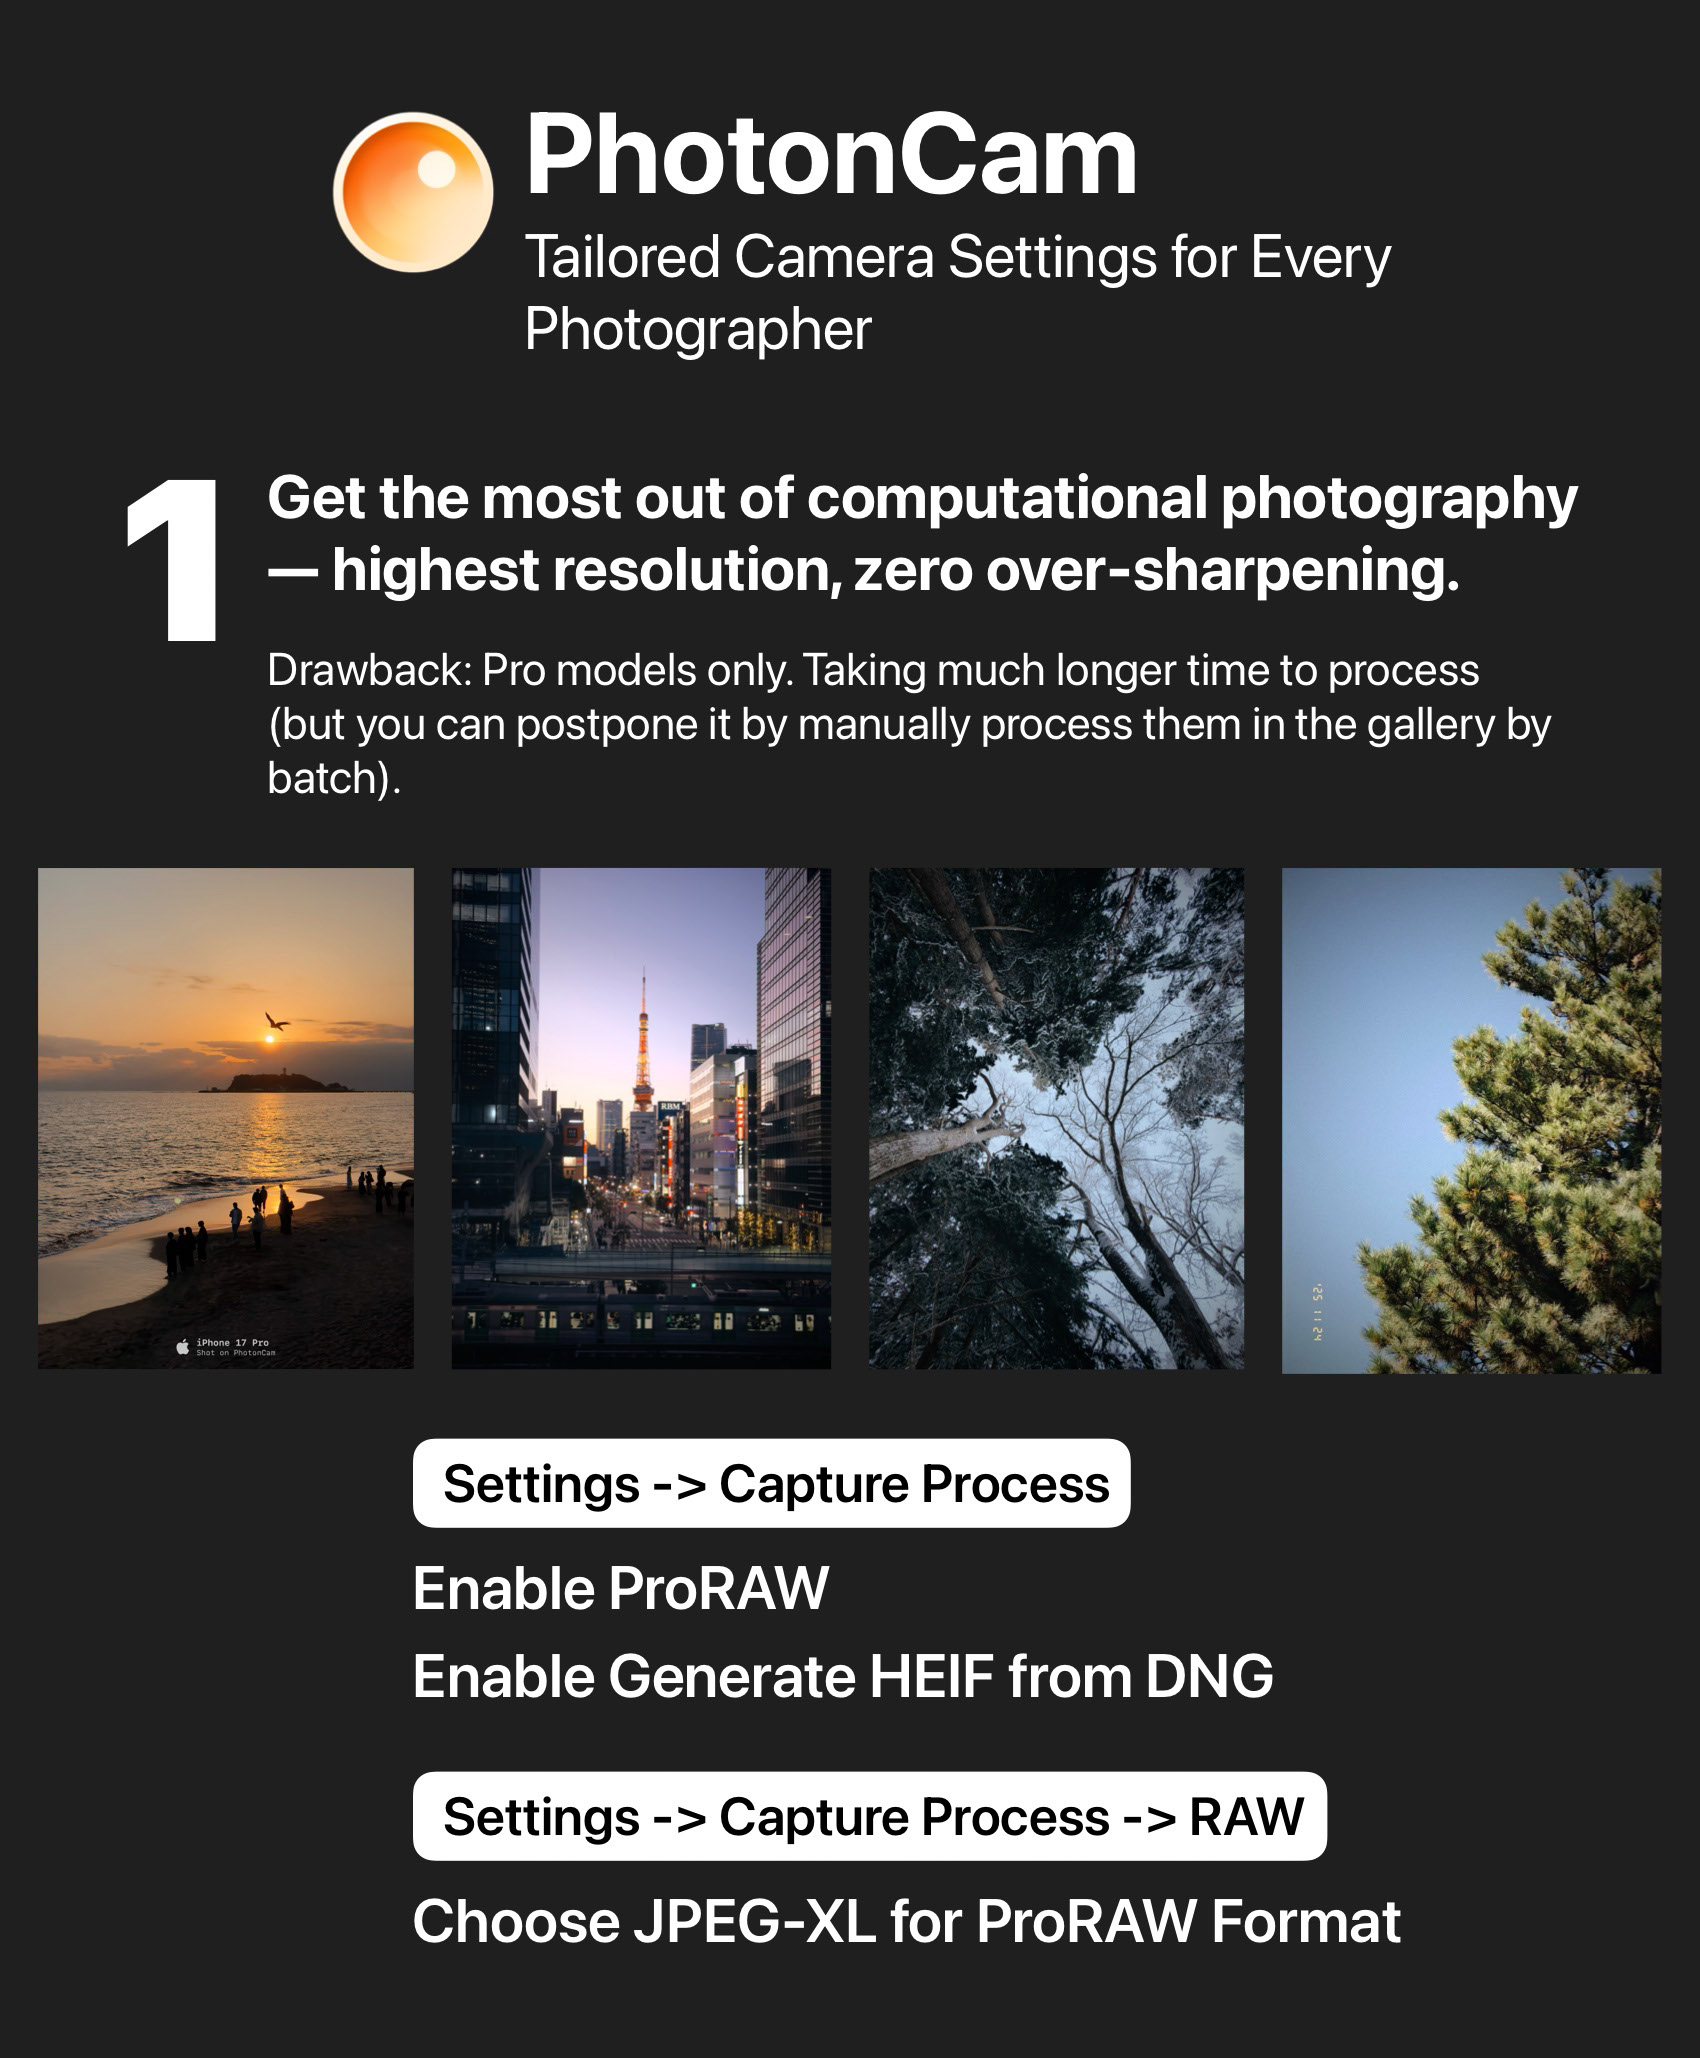
Maximize computational photography — highest resolution output with over-sharpening removed. Key settings: Enable ProRAW and Generate HEIF from DNG.
One tradeoff: shooting at 48MP means a longer capture-to-save time (around 4–5 seconds). Alternatively, you can disable "Generate HEIF from DNG" and batch-reprocess your shots later via multi-select in PhotonCam — you'll get the same de-sharpening result. Note: Pro models only.
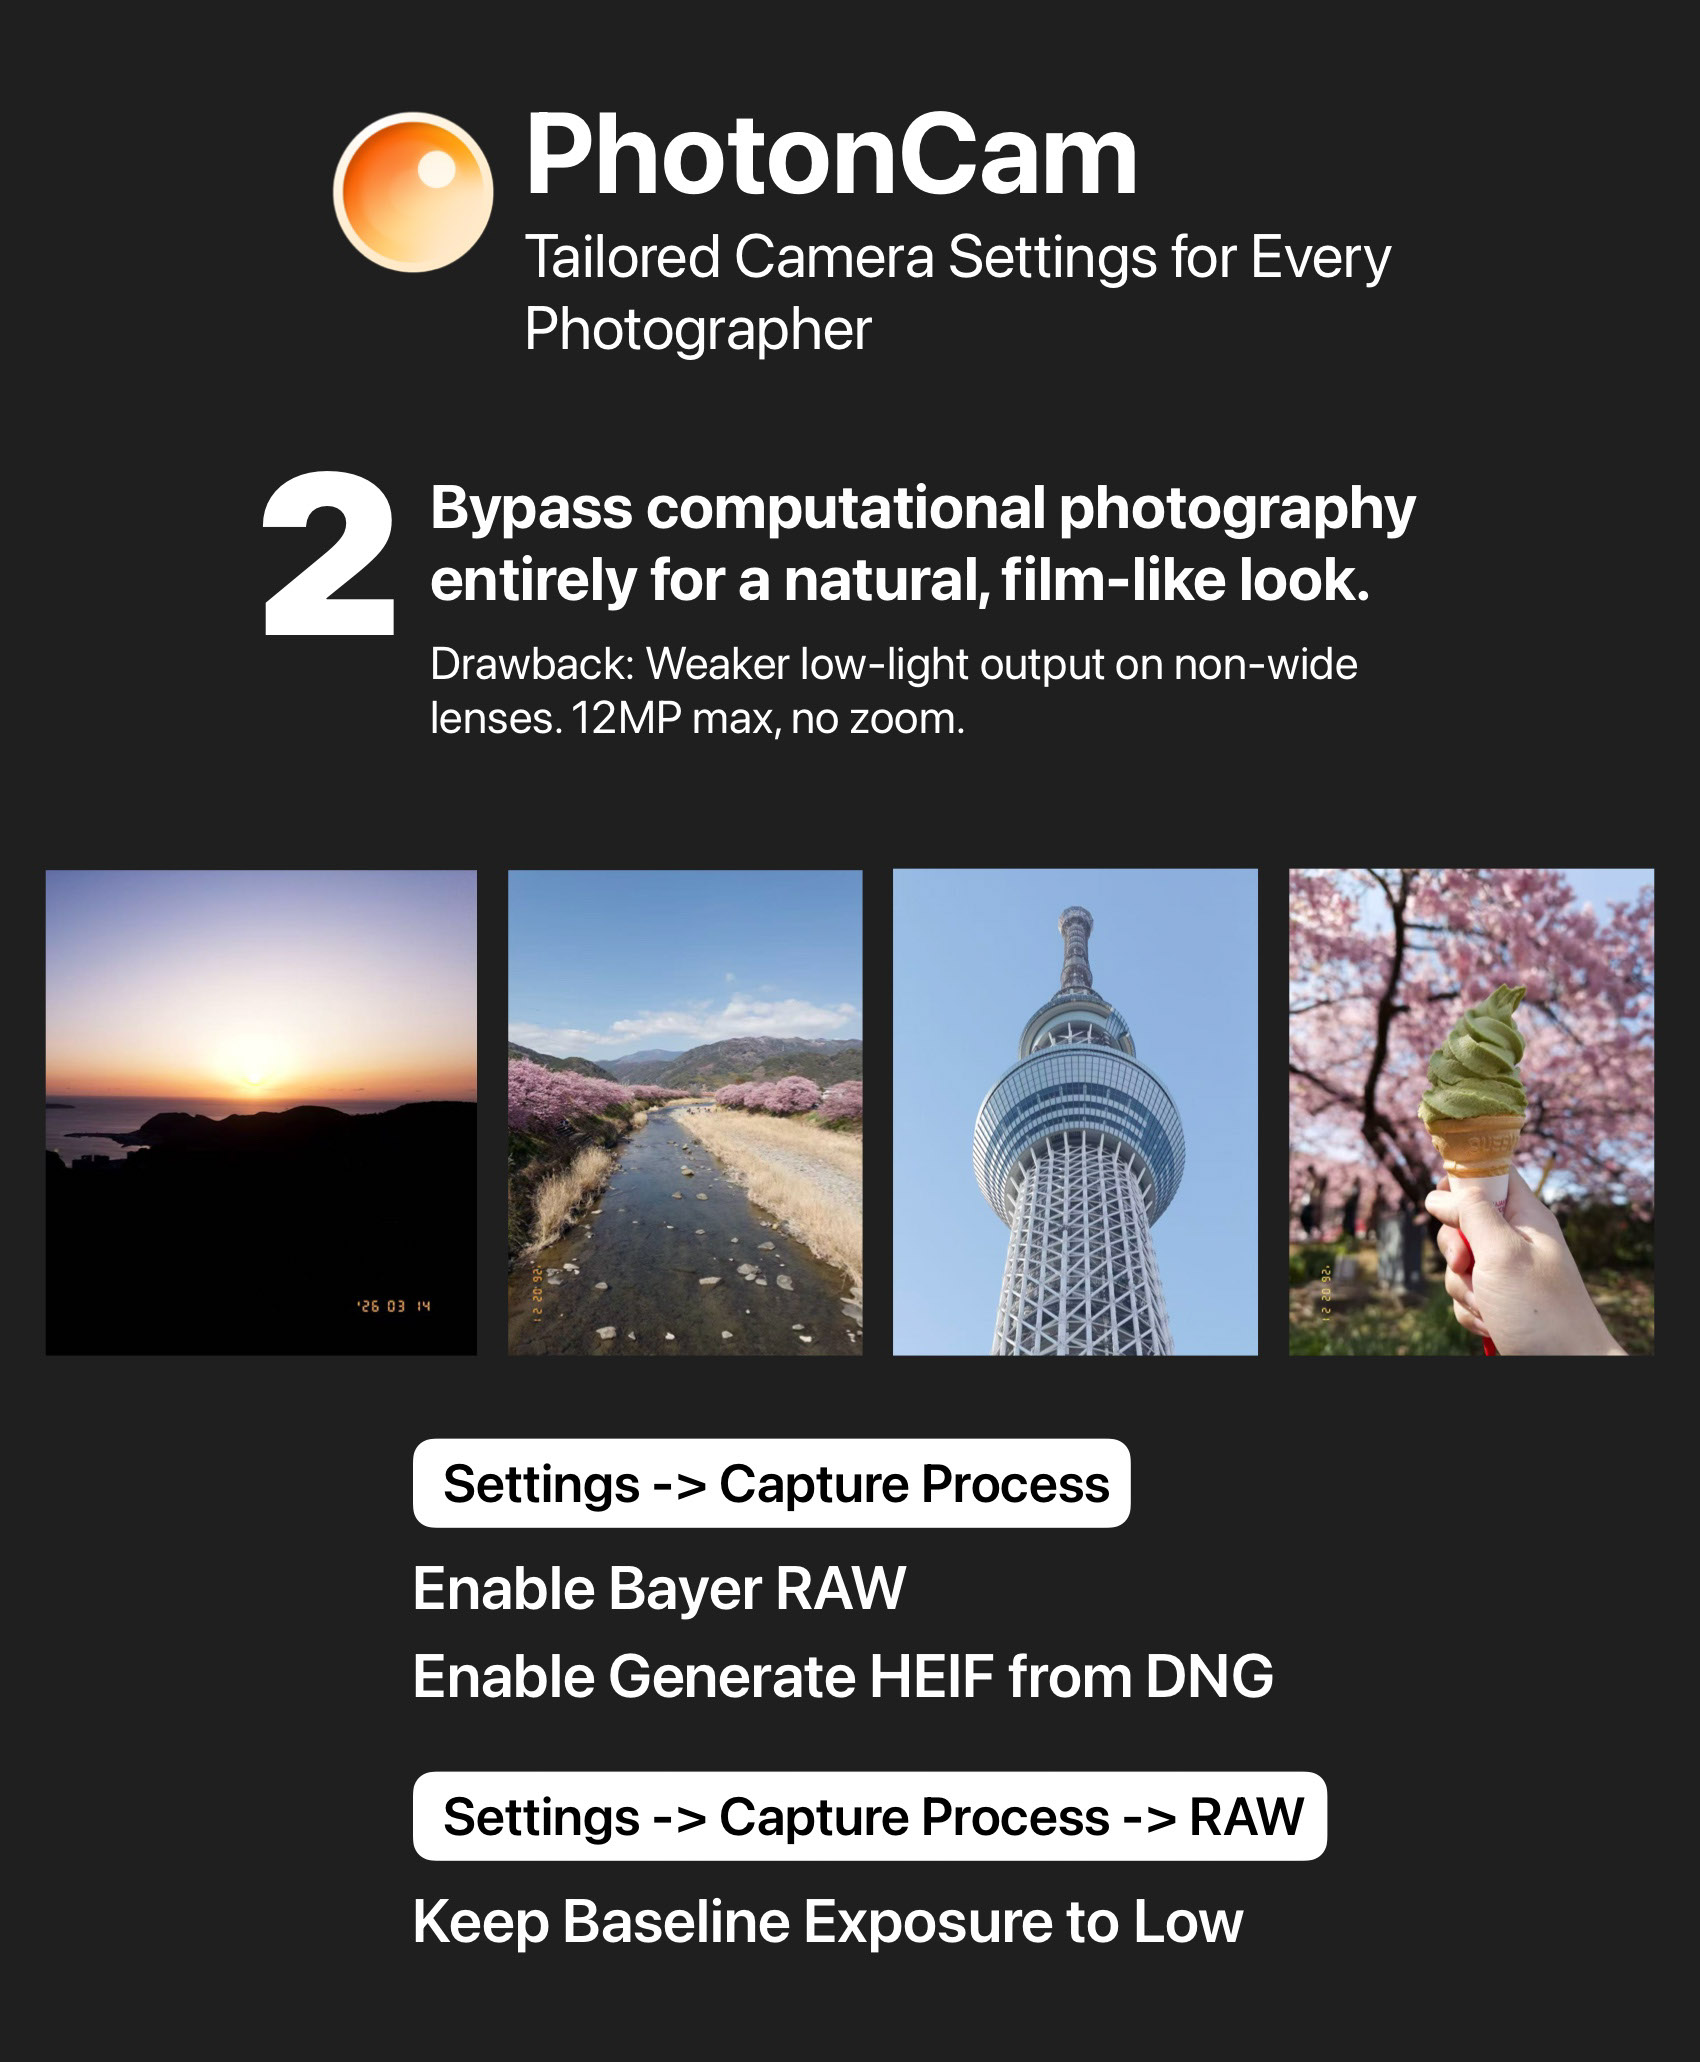
Bypass computational photography entirely for a natural, true-to-camera look. Key settings: Enable BayerRAW and Generate HEIF from DNG; keep baseline exposure at "Low."
One tradeoff: BayerRAW does not support zoom and is capped at 12MP. When shooting with the wide-angle or a longer telephoto lens (which has a narrower aperture than the wide), it's recommended in low light to increase exposure compensation or shoot in manual exposure — and keep a steady hand — to let in enough light for a clean result.
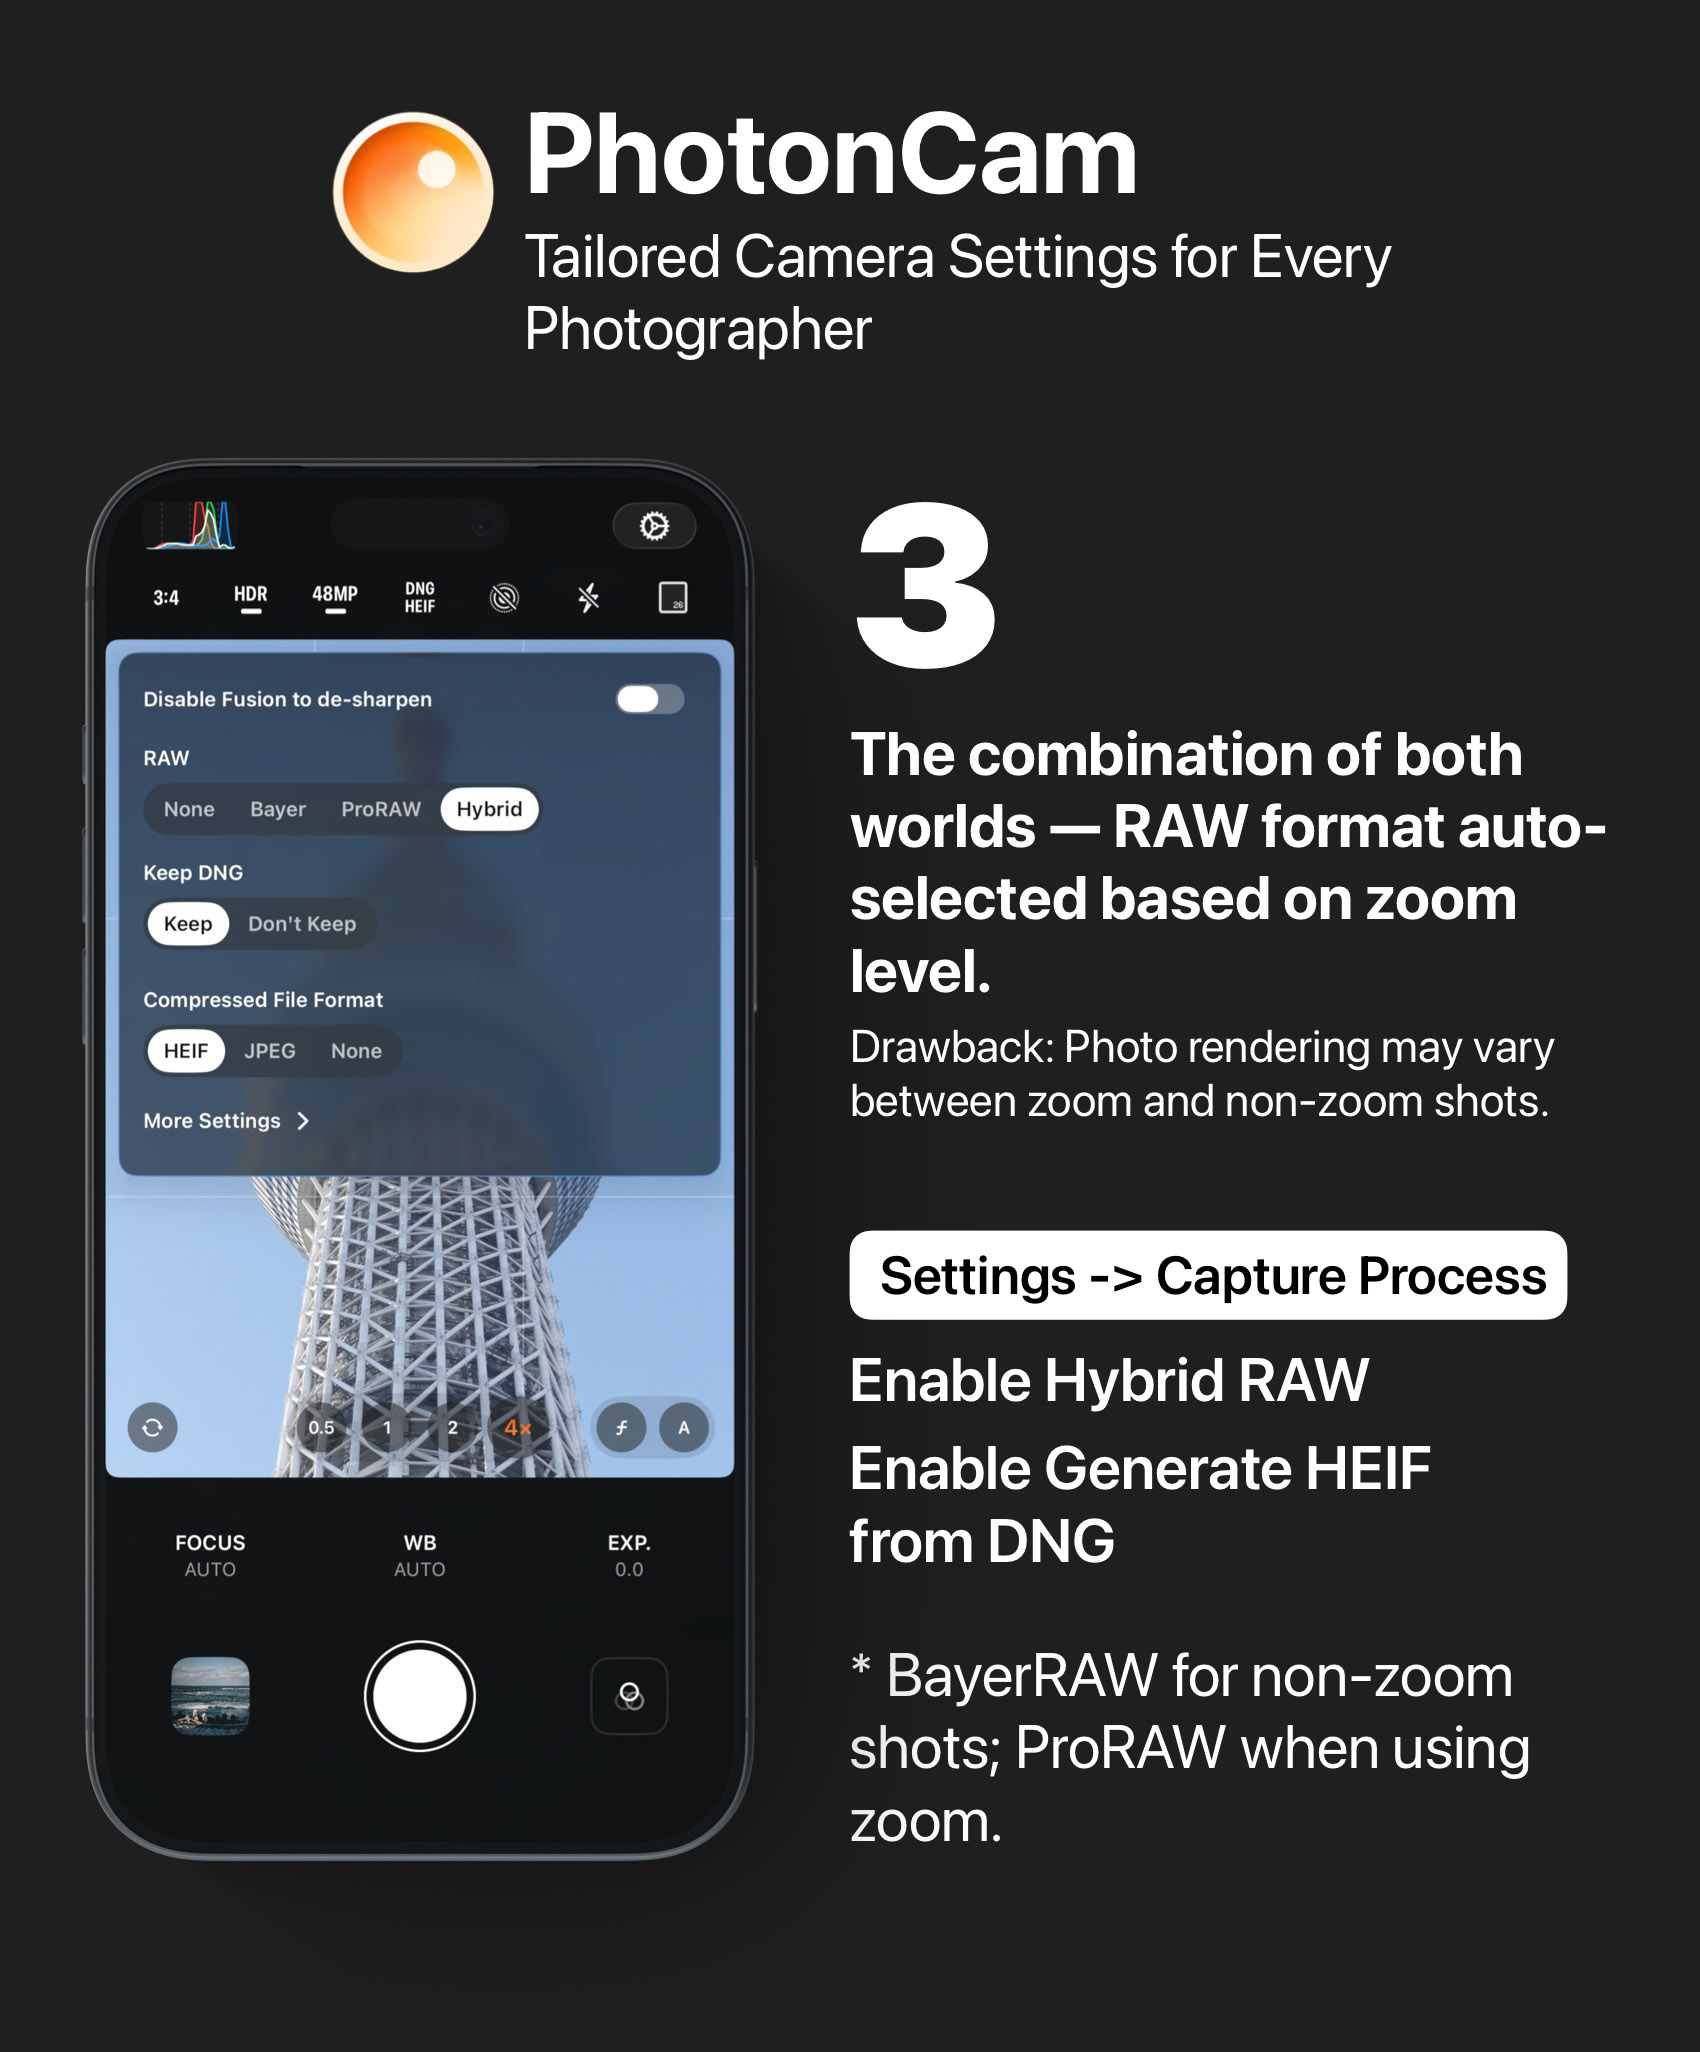
Get the best of both worlds. Key settings: Enable Hybrid RAW — BayerRAW for non-zoom shots, ProRAW when zooming in. After all, getting the shot comes before judging it.
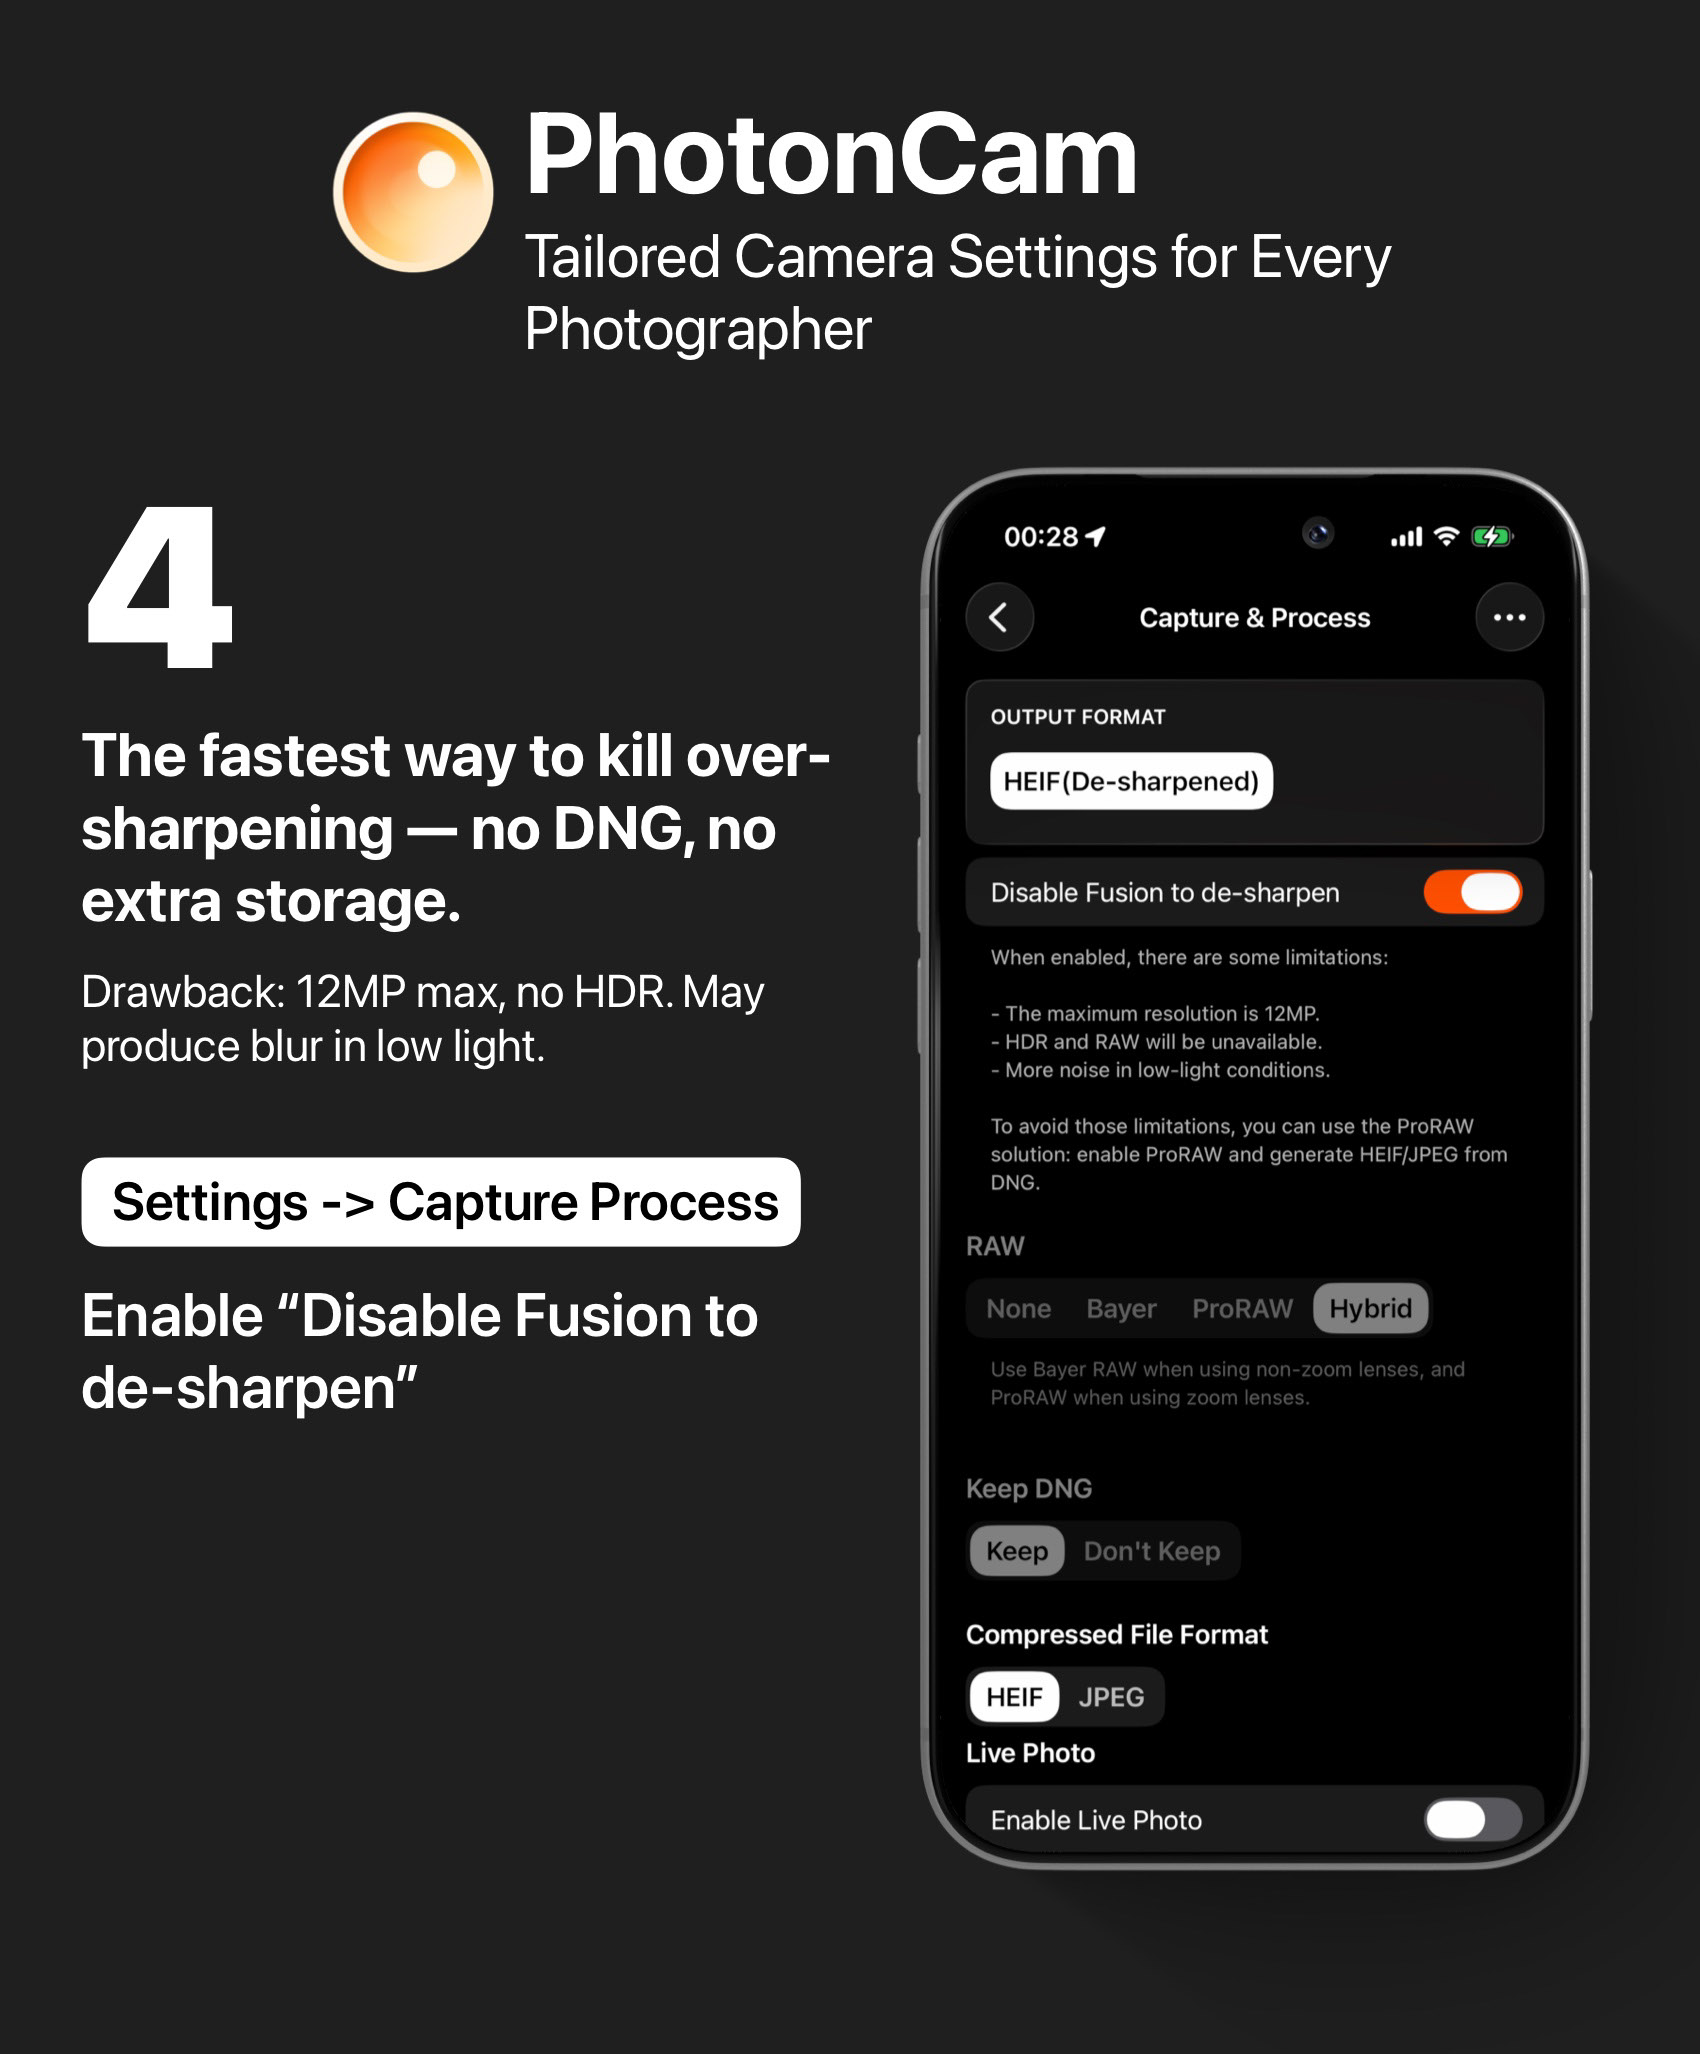
The fastest way to remove over-sharpening — quickest processing, no DNG files eating into your storage. Key settings: Enable Disable Multi-Frame Fusion Sharpening.