Capture or edit de-sharpened photos
Photos captured by the iOS Camera app will have over-processed looks by default. That's due to some internal image-processing pipelines like Deep Fusion and more.
Fortunately, there are ways PhotonCam can provide to help you capture or edit photos without that over-processed look.
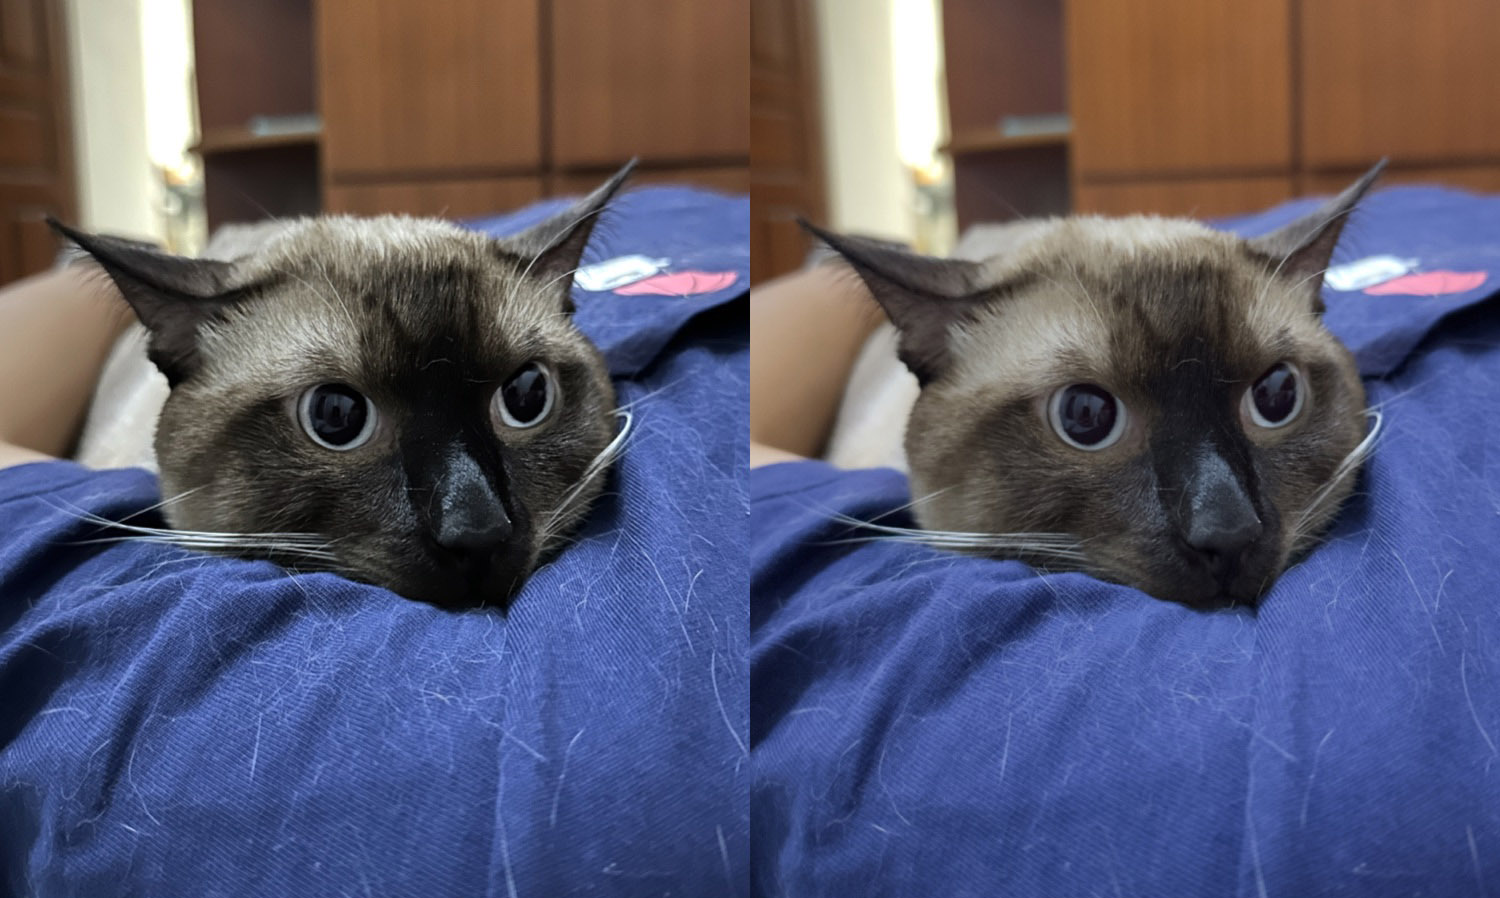
The image above shows the comparison of the original photo, captured by the iPhone 14 Pro with ProRAW, and the edited version using PhotonCam.
The following content will introduce various ways you can try in PhotonCam:
- Re-edit ProRAW photos captured by the iOS Camera app using PhotonCam's editor;
- Convert ProRAW photos to HEIF using a tool in PhotonCam's gallery;
- Capture and save de-sharpened photos directly in PhotonCam using the ProRAW method;
- Capture and save de-sharpened photos directly in PhotonCam using the No-Image-Fusion method;
Re-edit ProRAW photos
If you have photos captured in ProRAW by the iOS Camera app or any other 3rd party apps, then you can simply open the photo in PhotonCam's editor and save it.
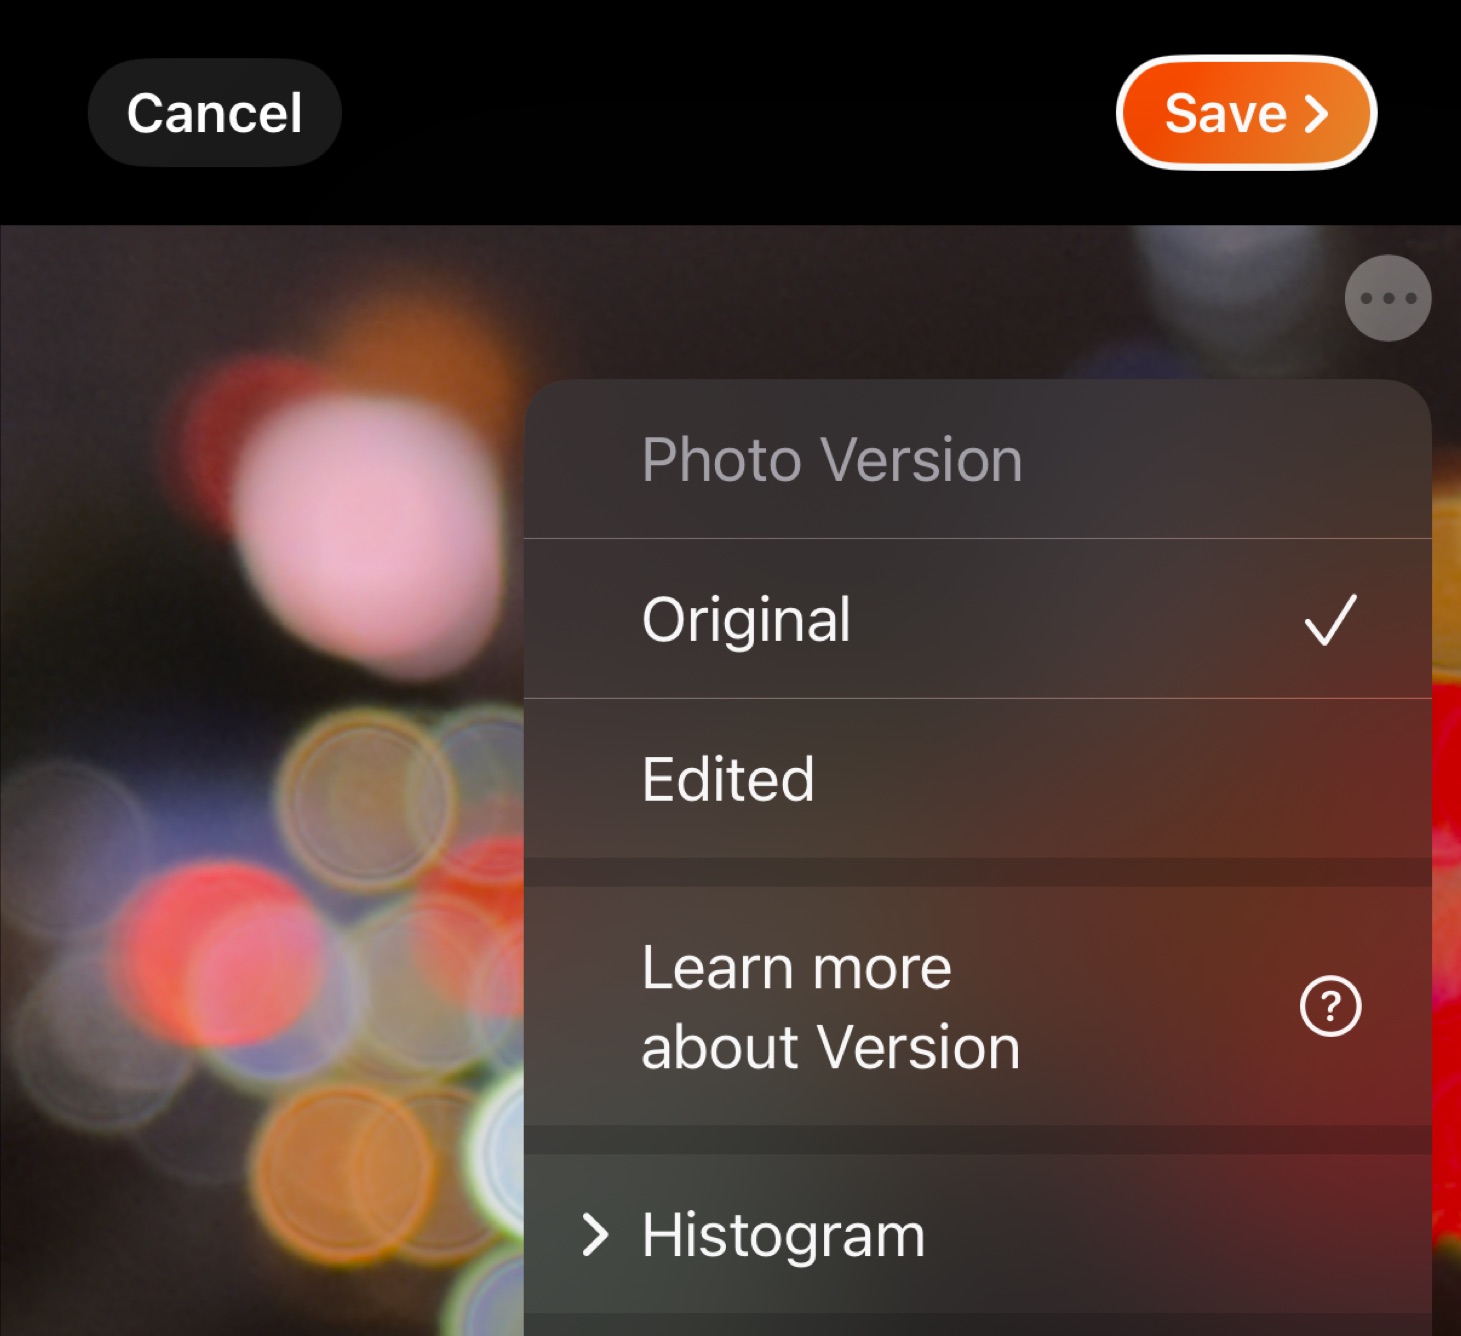
By default, PhotonCam will load the ProRAW data to recreate the suitable one to edit, and if you have altered the default loading version to another, you should manually select to load the original version of the photo.
Convert ProRAW photos to HEIF

PhotonCam has a built-in tool to help convert ProRAW photos to HEIF, just to avoid the over-processed look and help you save tons of storage.
Just go to the gallery page in PhotonCam, tap the select button on the top right corner, and select a few photos tagged with "RAW", and then you can see a new "Delete RAW Resources only" button at the bottom.
Here is how it works:
- It will iterate through your selected RAW photos;
- Then it recreates a HEIF version of them, and saves them to the Photos app with original EXIF metadata like the creation date and more.
- A deletion dialog will be prompted before it deletes the original RAW photos.
Use ProRAW method to directly capture and save in PhotonCam
The key to avoiding an over-processed look is to generate an image from a ProRAW file and save the image as HEIF/JPEG to the Photos app in the methods mentioned above.
PhotonCam can do this process for you when you capture photos inside the app. To enable this procedure, you can go to the app Settings -> Capture & Process, then enable the following options:
- Enable ProRAW
- Generate HEIF from DNG
That's it. Now when you capture a photo with those settings, PhotonCam will:
- Capture the photo in ProRAW
- Generate HEIF from it
- Save the DNG and HEIF in one photo asset in the Photos app (you may choose not to save DNG to save storage space).
Note 1: generating HEIF from DNG takes a significant amount of time, especially for 48MP photos.
Note 2: This method supports Pro models like iPhone 16 Pro. For standard models, please refer to the next section.
Disable Image Fusion to directly capture and save in PhotonCam
There is another way to capture the de-sharpened photos directly in PhotonCam for all iPhone models: disable Image Fusion.
To enable it, you can go to the app Settings -> Capture & Process, and then enable:
- Disable Fusion to de-sharpen
However, this method have some limitations:
- The maximum resolution is 12MP;
- HDR and ProRAW will be unavailable;
- More noise in low-light conditions.