Convert & Import Lightroom presets
PhotonCam supports importing Cube files or HALD images as new filters to use.
There are numerous resources available that teach you how to apply color grading to your photos using Adobe Lightroom or ACR. Additionally, you may come across some well-adjusted photos that you might want to apply to your own captured images.
The adjustments applied using Lightroom or ACR are saved in the RAW file or a separate file ending with .xmp. To convert those Adobe specified adjustments to a general cube file or a HALD image, you need to follow those steps.
There are two destinations that your presets can be converted to:
- 8x8 HALD images
- Cube files
Each destination requires different ways to be converted to, and this article will cover them all.
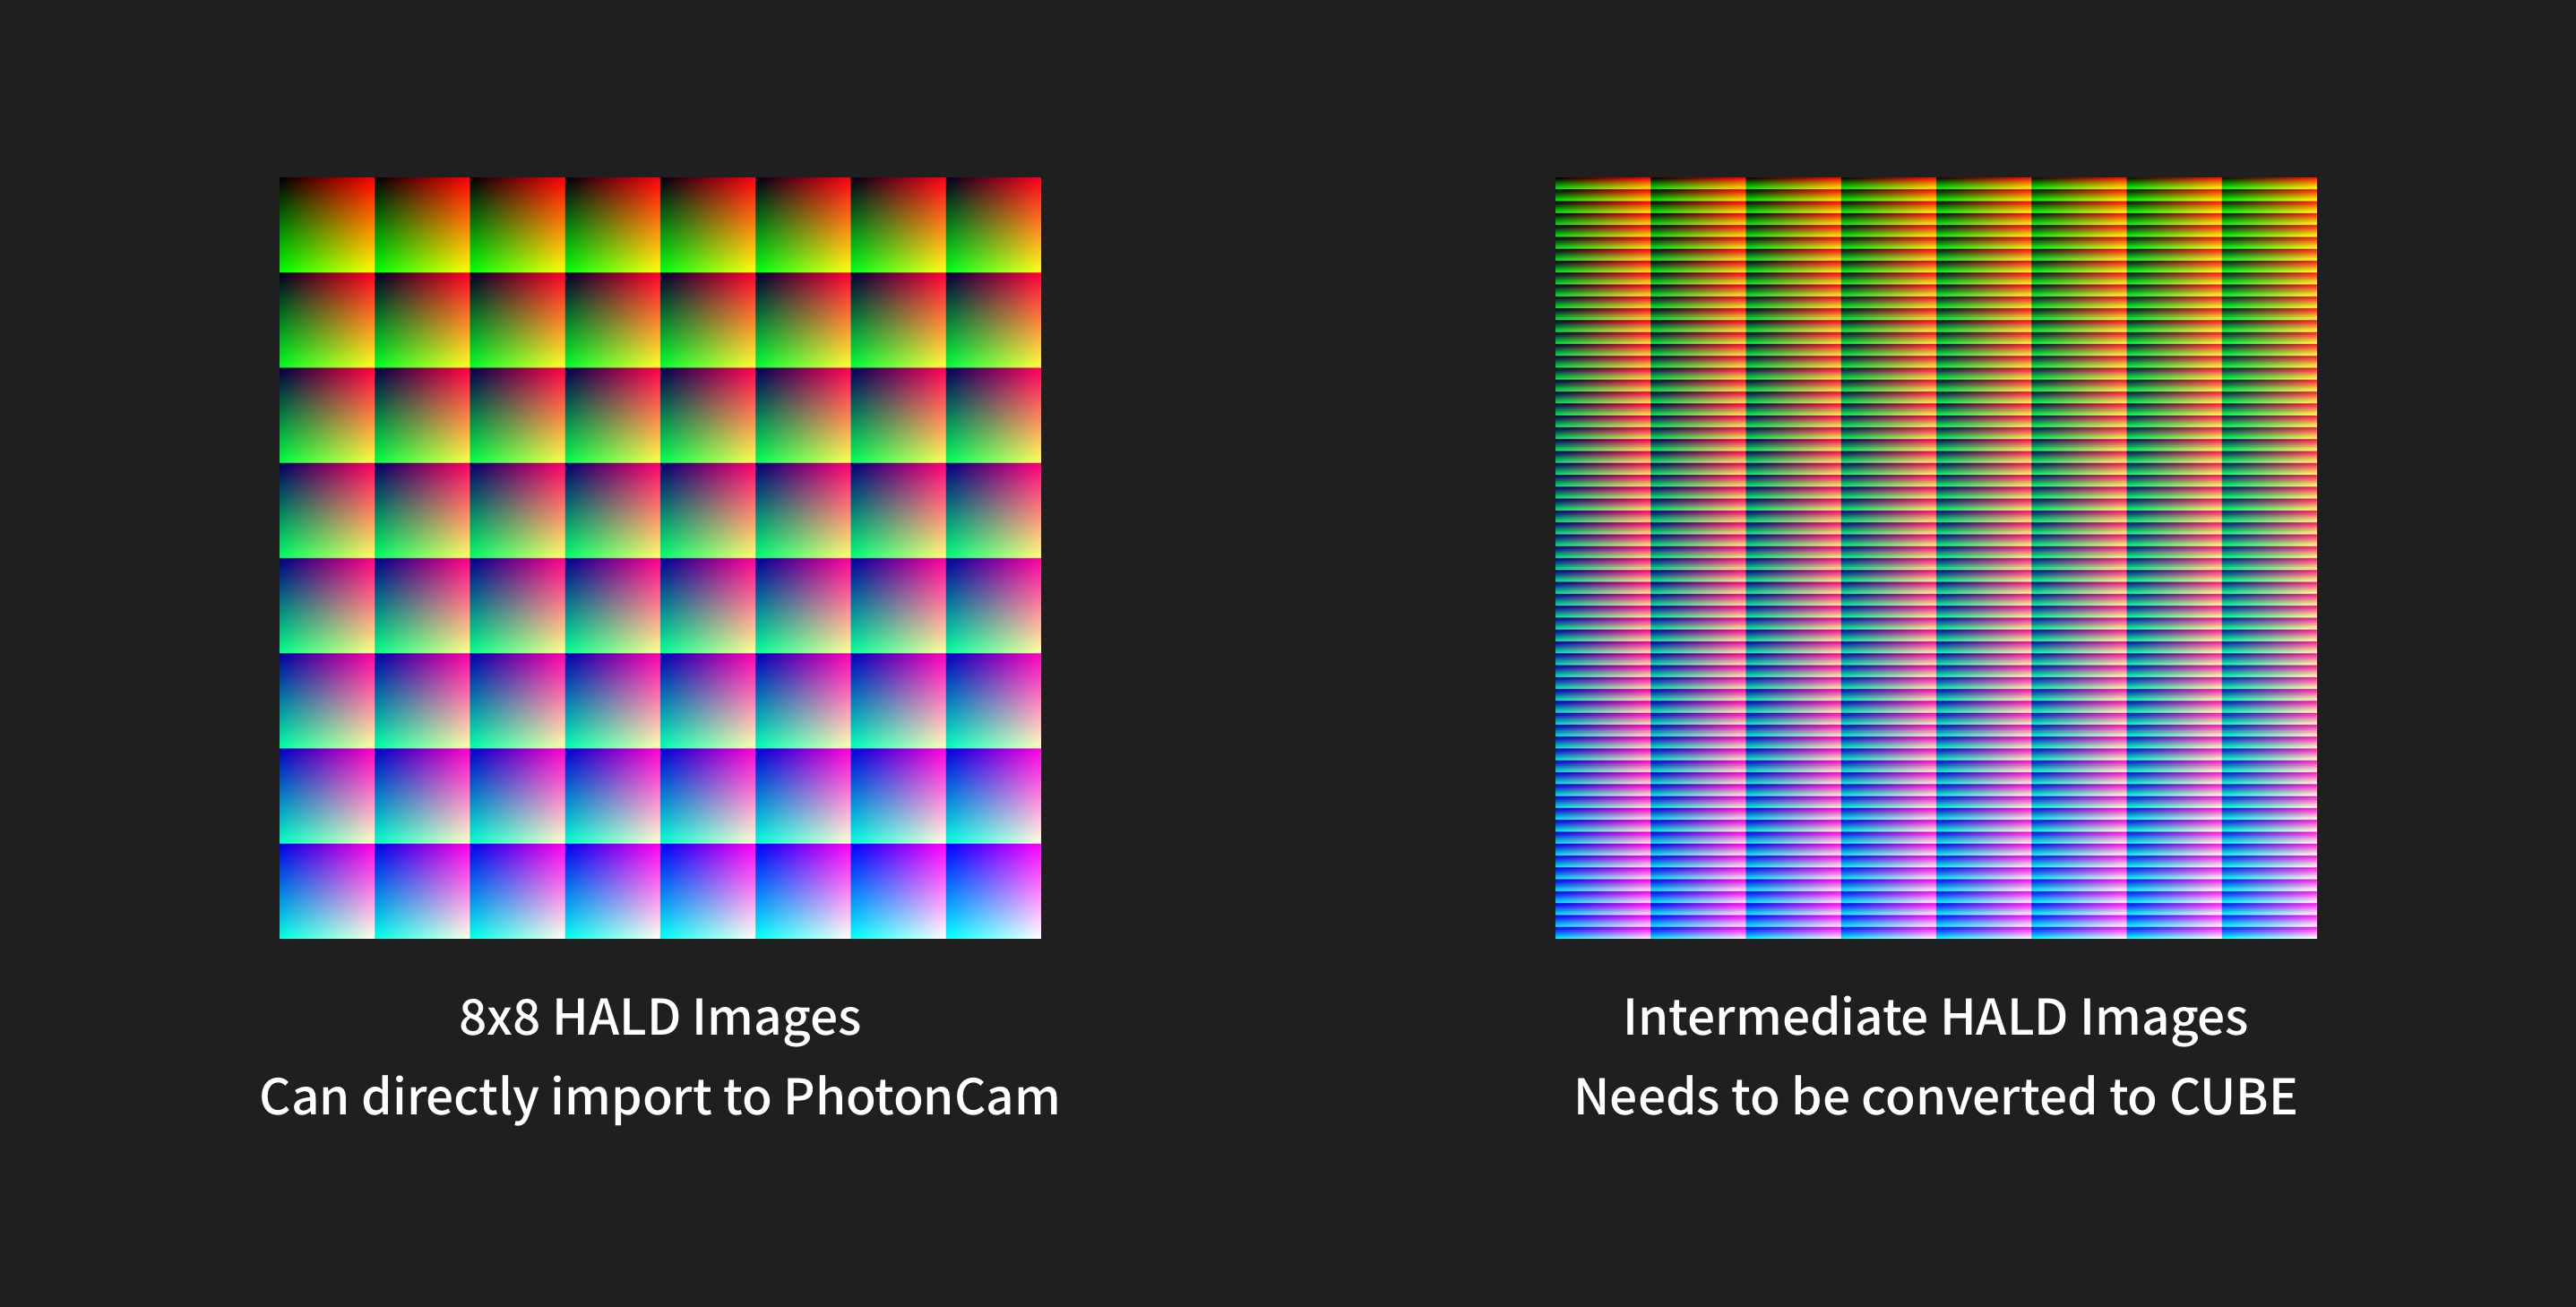
Important note: Converting presets to Cube files requires an intermediate HALD image, which is different from the 8x8 HALD image used as the final destination. You can see the differences between these HALD images. It is recommended to convert to 8x8 HALD images, as it’s simpler and can be done directly on your iPhone or iPad.
Importing HALD images requires the version of v1.9.4 or above.
Convert to 8x8 HALD images
8x8 HALD images are prepared images that contain the information for the lookup 2D algorithm to perform color mapping in color grading. This kind of image has a special pattern of 8x8 grid and a resolution of 512x512 pixels.
To convert the presets to the 8x8 HALD images, there are a few steps:
- Download the unmodified 8x8 HALD image.
- Do the color-grading using whatever tools you prefer.
- Export the image using a lossless format like PNG.
- Import it to PhotonCam as a filter.
Download the unmodified 8x8 HALD image
You can download the unmodified 8x8 HALD image in the PhotonCam via "Settings -> Filters -> More button on top -> Import Presets from Lightroom" or here.
Apply adjustments to the HALD image
The adjustments you applied in LR is transferable. Hence, you can simply copy & paste the edits from one photo to another one.
Find the photo you would like to copy edits, copy the edits and paste it on the HALD image.
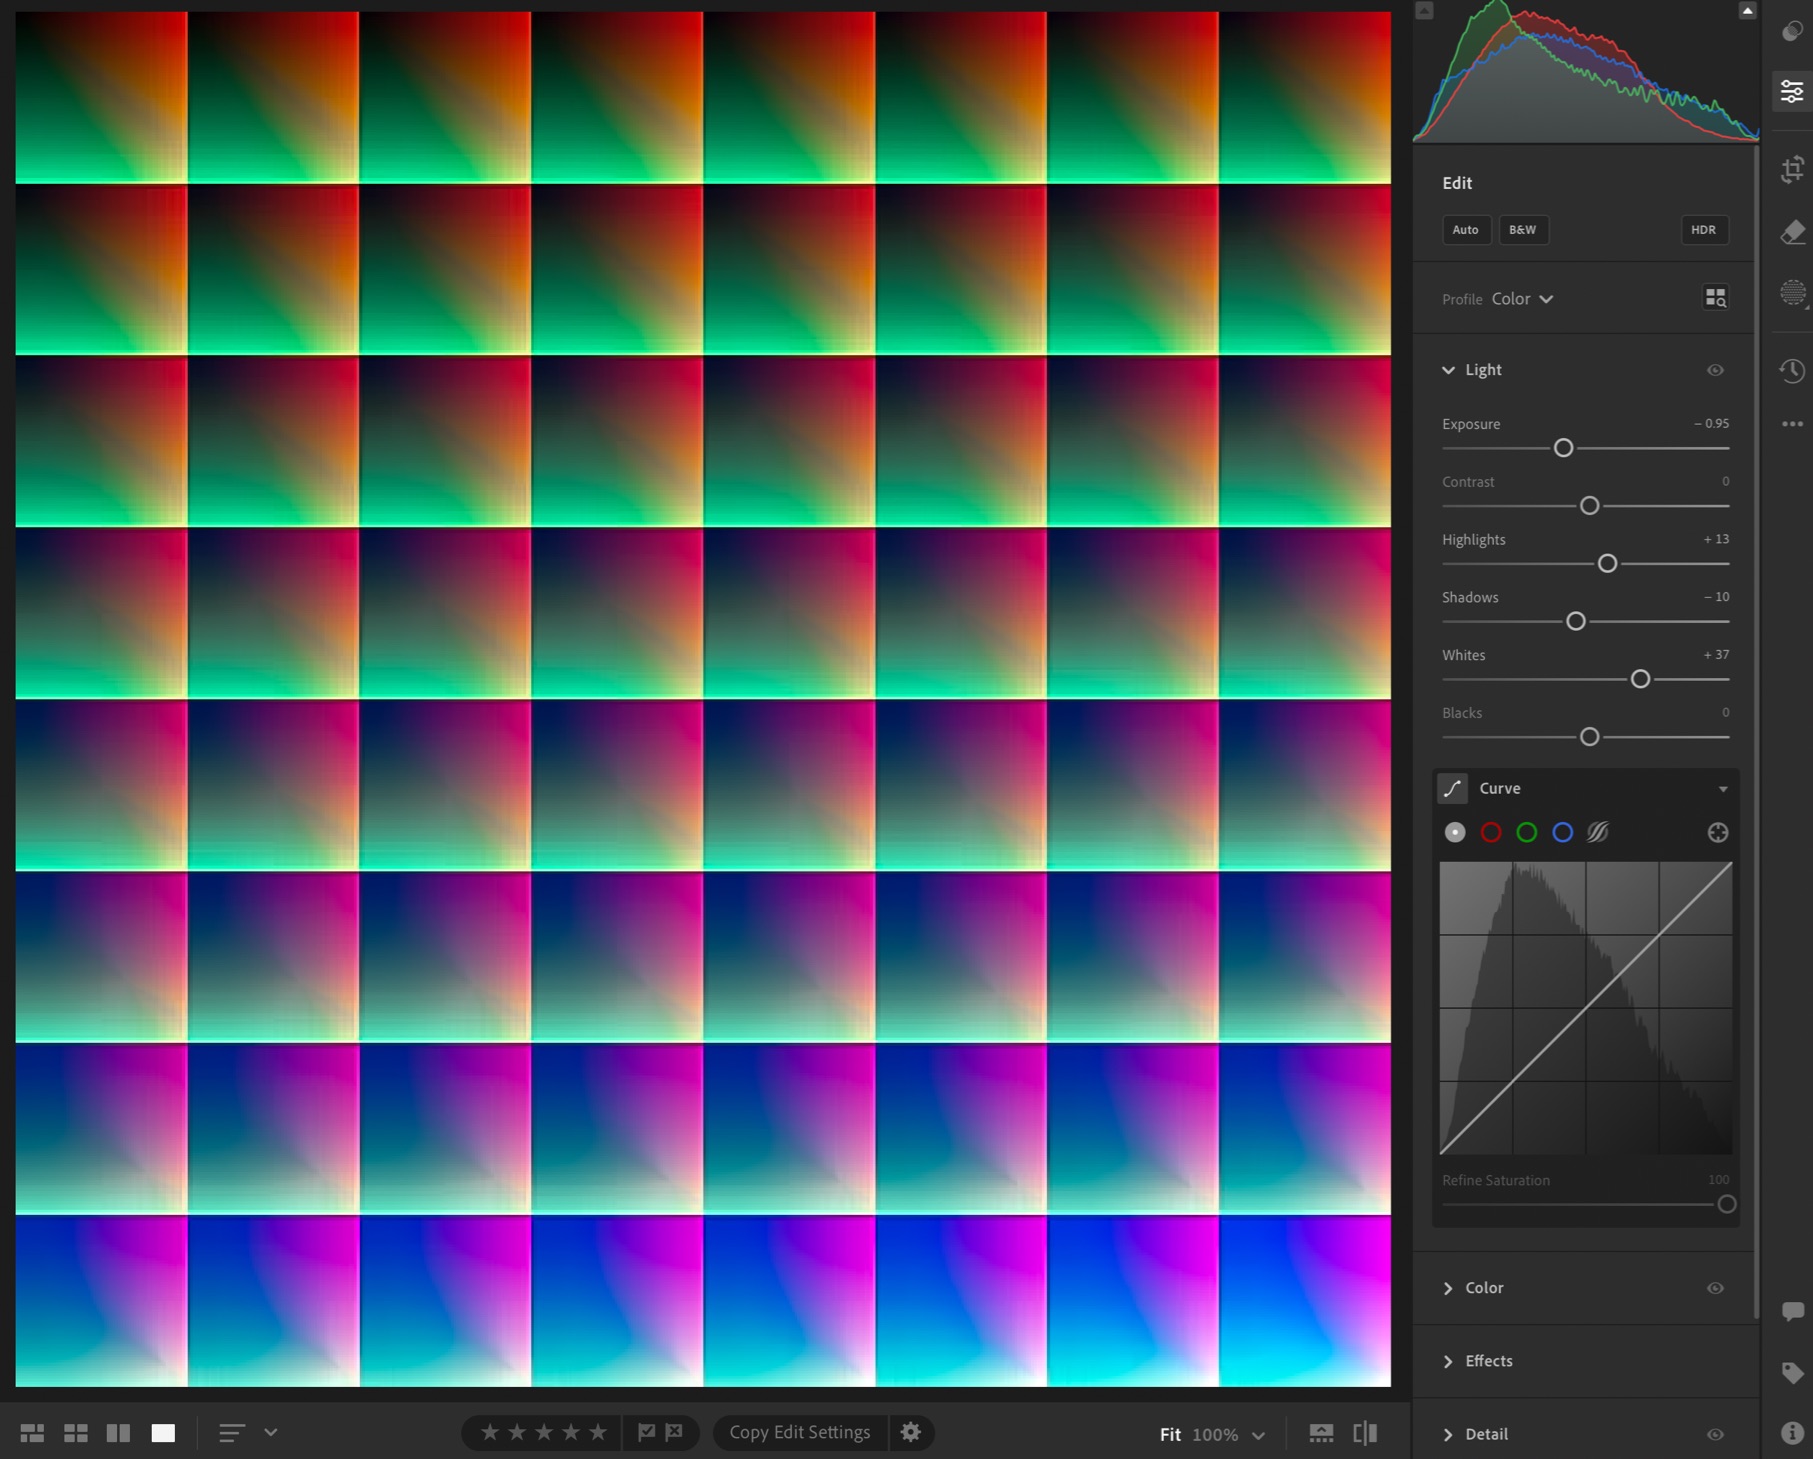
Please note that you can only adjust the Light and Color to the photo. Applying effects to the photo will affect the output HALD image, which may become corrupted.
Export the image
After editing the unmodified 8x8 HALD image, now it's time to export it as PNG or TIFF and save it to your iPhone's Files app or Photos app for later use.
Saving to JPEG with 100% quality is possible. However, I recommend exporting as PNG.
Import to PhotonCam
You can then import the HALD images to PhotonCam as new filters. View here for more details.
Convert to Cube files
Download and import the intermediate HALD image
A HALD is a 3D LUT converted into 2D image as JPG or PNG file. The HALD is a pattern containing all color values (pixels) for a specific size of grid. Bigger is the grid, better color accuracy is the output generated LUT.
You can download the HALD images from here.
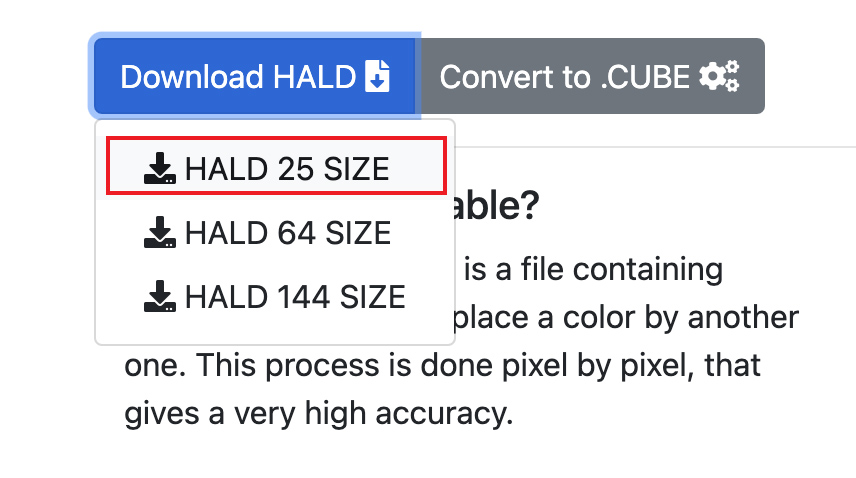
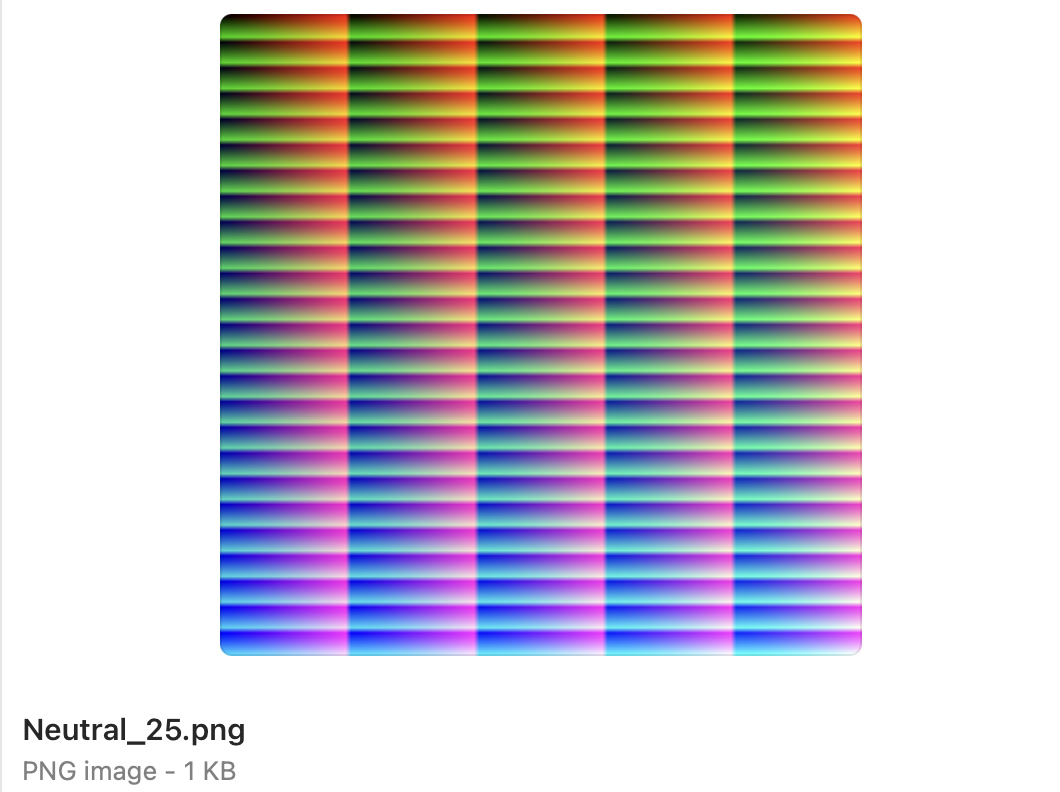
I will recommend you to choose HALD 25 SIZE for mobile performance consideration. Once you download the HALD image, which looks like the following image below, you can import it to Adobe Lightroom.
Apply adjustments to the HALD image

The adjustments you applied in LR is transferable. Hence, you can simply copy & paste the edits from one photo to another one.
Find the photo you would like to copy edits, copy the edits and paste it on the HALD image.
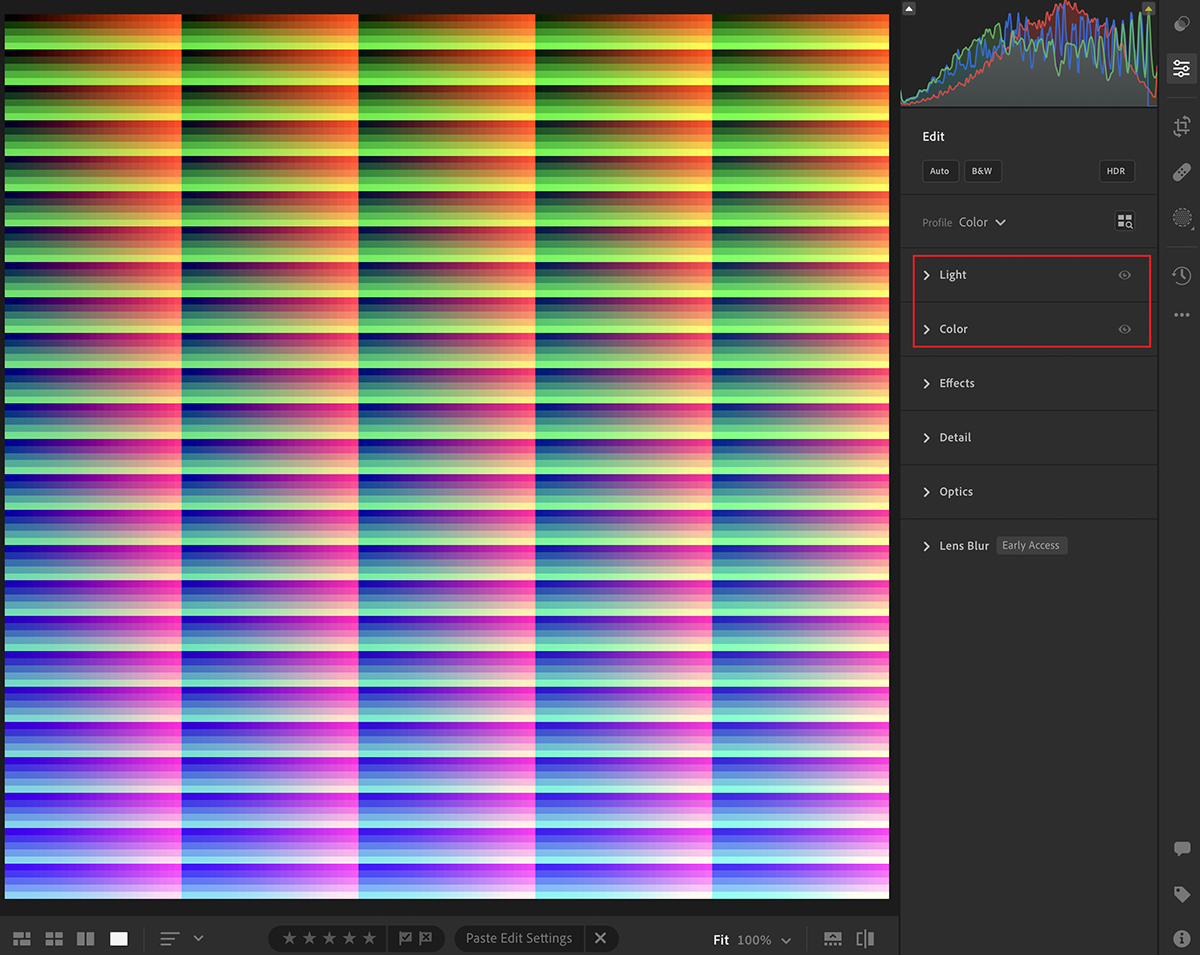
Please note that you can only adjust the Light and Color to the photo. Applying effects to the photo will affect the output HALD image, which may become corrupted.
Convert the HALD image to Cube file
The website mentioned above can help you convert the altered HALD image the cube file.
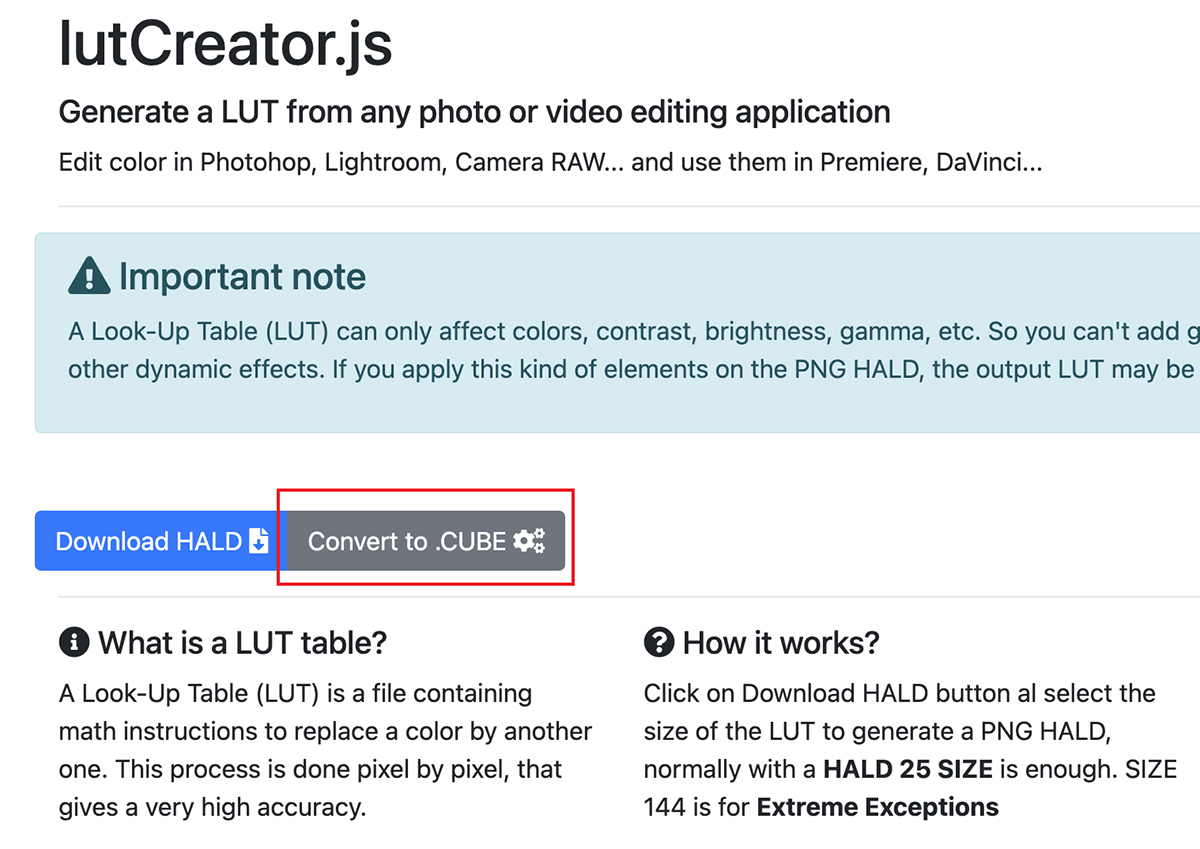
By clicking the "Convert to .CUBE" button, you will be asked to choose the HALD image. And then the cube file will be downloaded.
After getting the Cube file, you can now send it to your iPhone and import to the PhotonCam app to use.
For more information about importing Cube files to the PhotonCam app, please refer to here.